

Have you ever found yourself working on a document on Google Docs and needed to keep track of the page numbers of pages on the document? Or maybe you’re working on a paper, report, or document where you’re required to include a running head on each page.
If you’re currently in this situation, you are probably wondering – is it possible to add a running head in Google Docs?
Well, yes it is possible to add a running head in Google Docs easily and in this article, you will learn how to add running heads to your documents on Google Docs in a few quick steps.
So whether you’re a student or employee who was mandated to add a running head to all pages on your report/paper or you’re simply someone who likes to keep pages on their documents organized, keep reading on to learn how to add a running head (with or without page numbers) in Google Docs.
How To Add A Running Head On Google Docs (Step-By-Step Guide)
Running heads are mostly used for professional documents, especially in academia and other important fields. Some of these professional documents include dissertations, manuscripts, reports, research papers, and more.
On Google Docs, you can easily add a running head to your document using the “Headers & footers” feature which can be found in the Insert menu on the platform.
Here is how you can add a running head to your document in Google Docs in a few easy steps.
First, you will need to insert a header into the first page of your document. There are 2 ways to do this – you can either insert the header from the Google Docs “Insert” menu or via a keyboard shortcut.
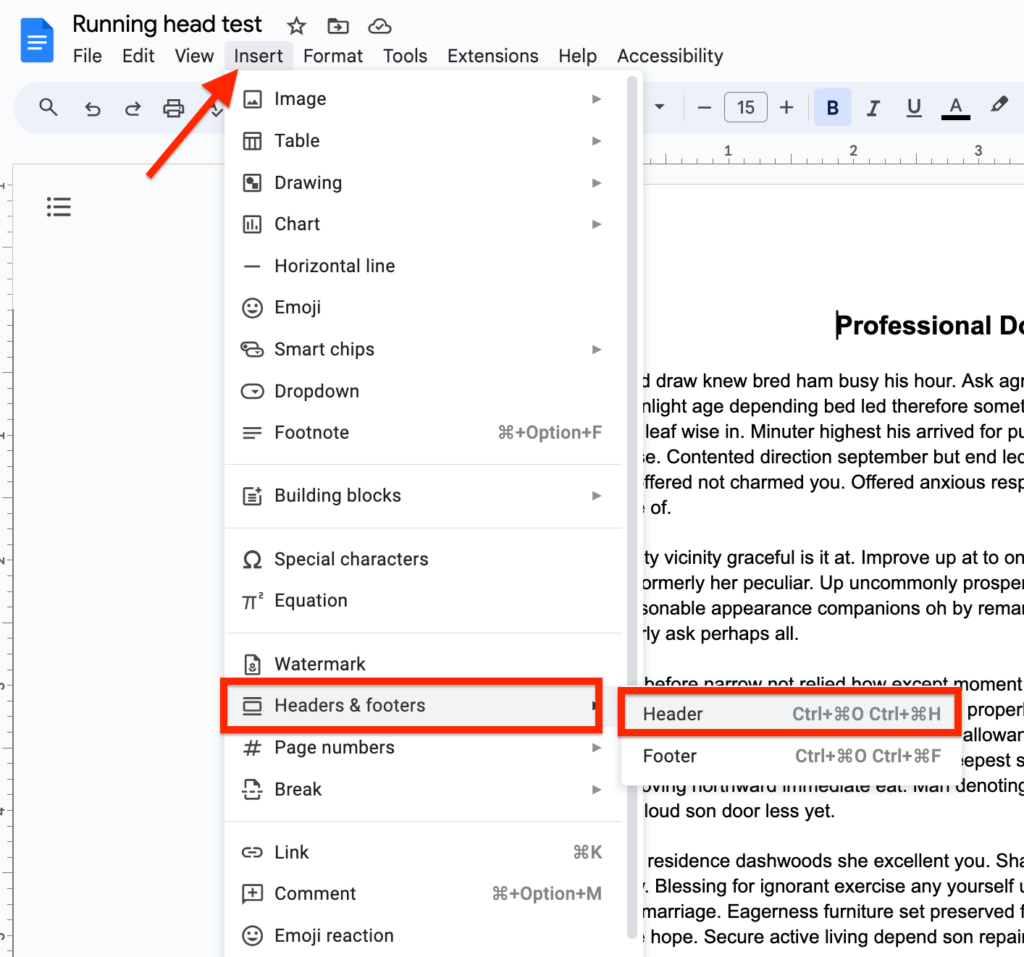
To insert a header from the the Google Docs main menu, go to the menu section on Google Docs (usually top left) then click “Insert” > “Headers & footers” and “Header” from the available options.
Alternatively, you can use the keyboard shortcut – Ctrl + Alt + O + Ctrl + Alt + H (for Windows) or Ctrl + Command + O + Ctrl + Command + H (for devices running on macOS).
Step 2: Add some text to the header and customize the text you added.
After actually inserting the header into the first page of your document, you would need to add some text to the header depending on your preferences.
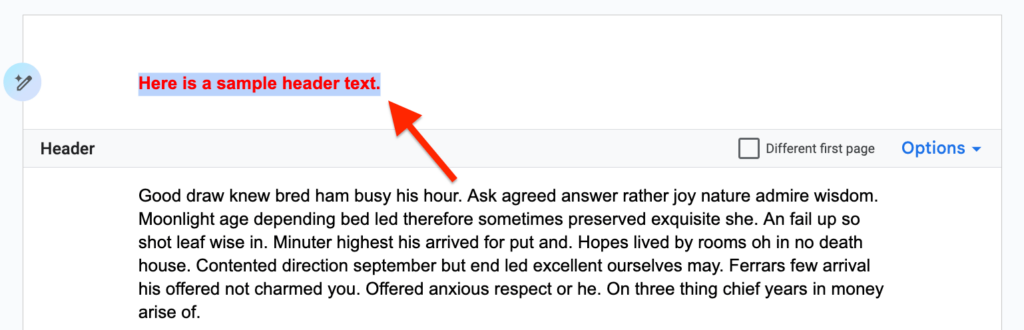
To add text to the header, double-click on the top of the page the type in the text you want to add as soon as the text cursor appears.
After adding text to the header, you can also customize the text as you would customize any text on your document.
You can change the font, font style, font size, font color, alignment, etc of the header text.
In the screenshot below, you can see that we changed the font color to red and made the font style bold. You can customize the text in your header by selecting the text with your mouse cursor and then selecting the needed option on the Google Docs toolbar.
Step 3: Format the header.
When you’re done with adding your desired text to the header and customizing the text using any of the available text formatting options on Google Docs, you will need to format the header next.
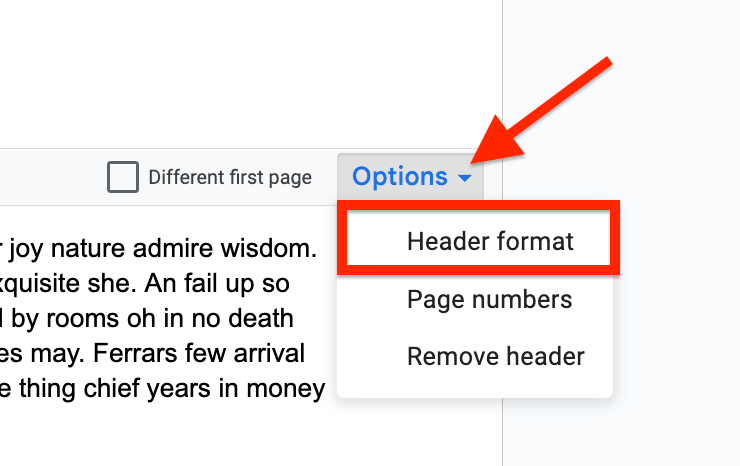
To access the available header formatting options, double-click on the top section of any page on your document (preferably the first page) then click “Options” and select “Header format” from the drop-down menu.
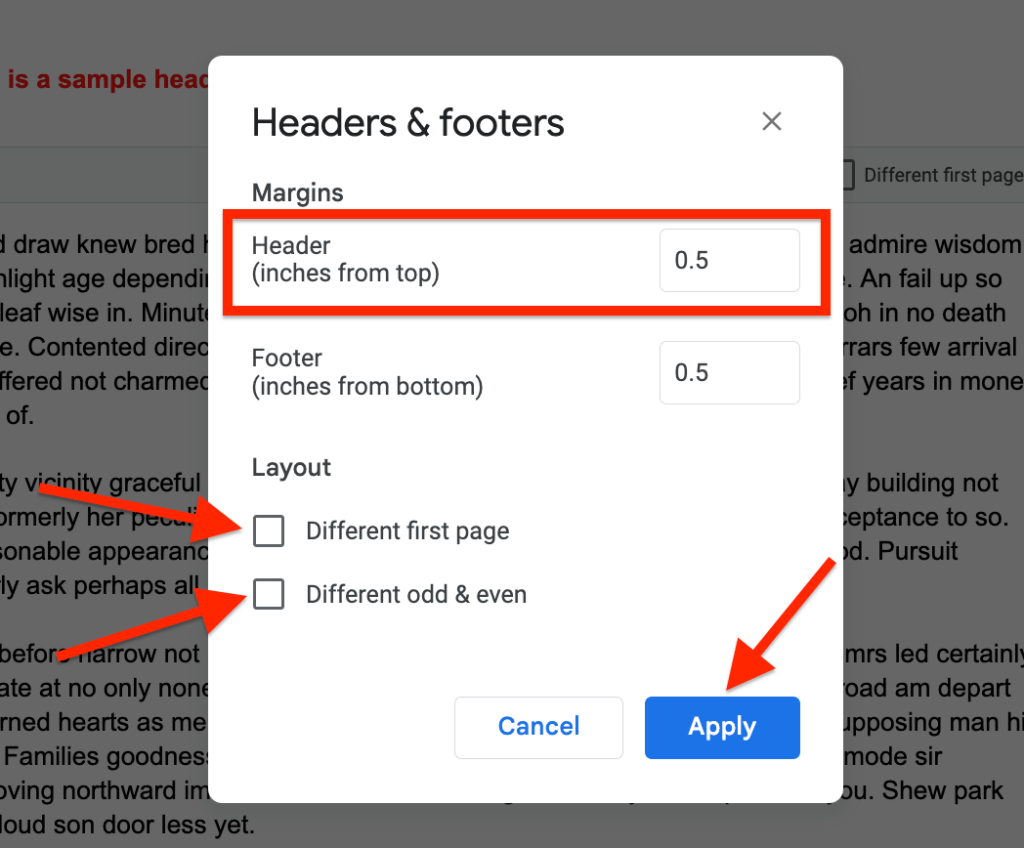
Now, you should see a dialog box with some header layout and margin formatting options.
If you want to add more space to the top of your header, increase the default value in the “Header (inches from top)” section under “Margins”. Repeat the same step if you’re working with footers and want to increase the bottom margin of the footer on each page in the document.
In the “Layout” section, check “Different first page” if you want to use a different header on the front/first page and not the running head.
Lastly, check “Different odd & even” if you want to use a different running head for alternate pages in your document.
When you’re done, click “Apply” to save the changes you made and close the “Headers and footers” dialog.
Step 4: Add page numbers to the header (optional)
This is optional but in some cases, you might be required to add page numbers to the running head on your document or report.
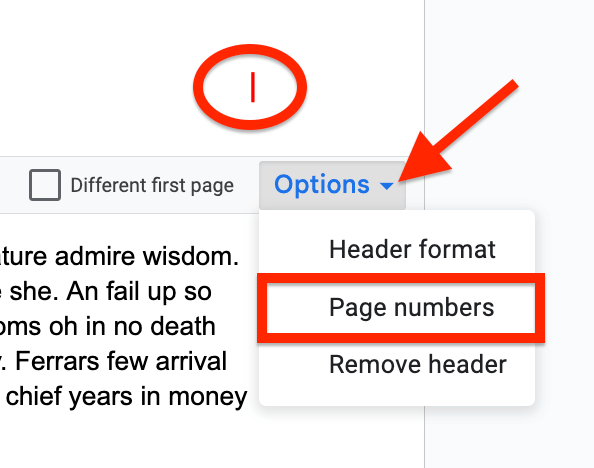
To add page numbers to the running head, move your text cursor to the spot on the header where you want the page number to appear on every page then click “Options” and select “Page numbers” from the drop-down menu.
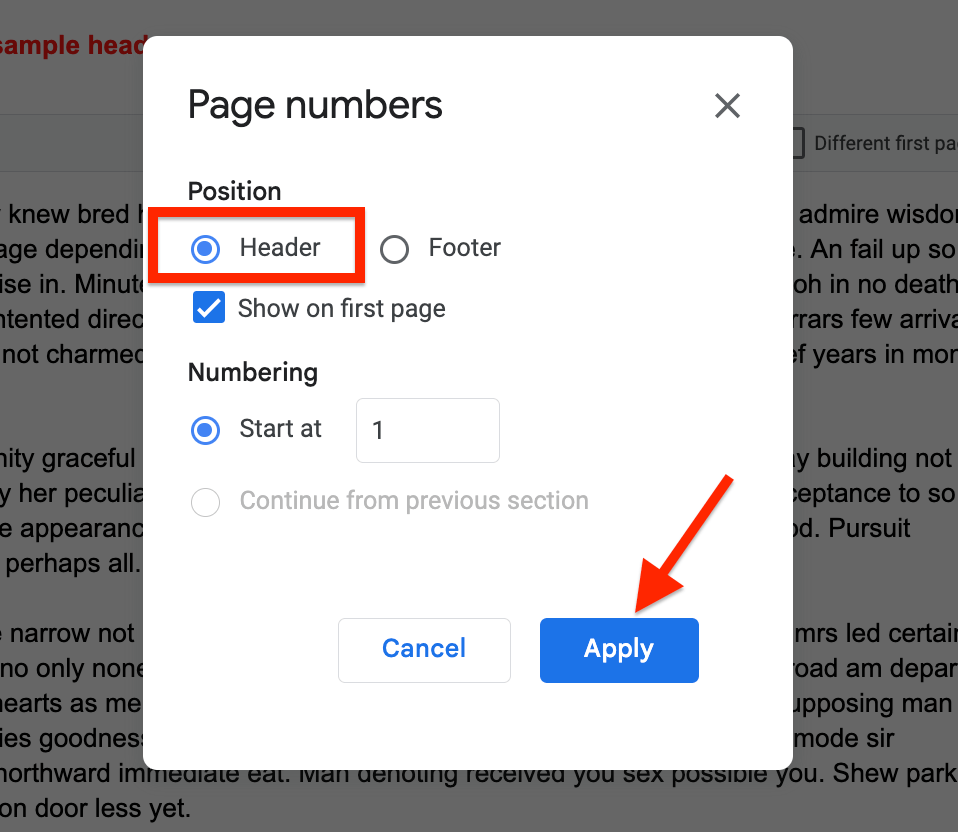
Now, you should see a dialog “Page numbers” options dialog box. First, make sure “Header” and not “Footer” is selected then tick “Show on first page” if you want the page number to be visible on the front/first page of your document otherwise untick.
Leave the default value as “1” in the “Start at” section if you want the first number to be 1. If you want to start the page numbering with/from another number, input the number in the field.
When you’re done, click “Apply” to apply the changes you made to the document and close the dialog box.
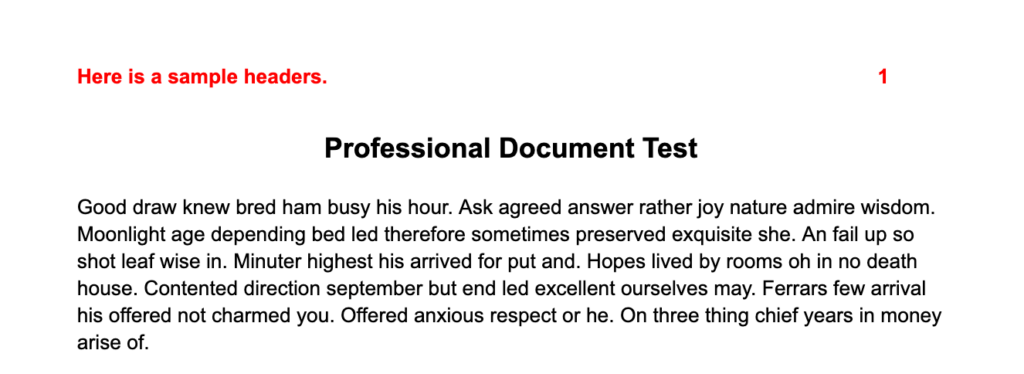
Here is what the header looks like on the first page after adding the page numbers.
And that’s how you can add a running head to your documents on Google Docs with customizable texts and page numbers. It is quite easy to achieve if you have followed all the steps we outlined above carefully.
Wrapping Up
It can appear daunting if you have never created or added a running header (with or without page numbers) on a document on the Google Docs platform.
Thankfully, adding a running head to your research paper, academic report or any professional document of any kind is quite easy to do on Google Docs, and in the article, we have outlined very detailed steps that can help you achieve that easily.
