

Like other word processing software out there, Google Docs allows users to customize texts on their documents by using many formatting options including various text colors, fonts, font sizes, font styles, and more.
One feature of Google Docs that stands out is the ability to add custom colors to your documents on the color palette.
When using a custom color as a text color or background color of a shape on your document, the color remains visible below the palette whenever you open the color palette and this can be quite frustrating for many.
But you may be asking, is there a way to delete custom colors on Google Docs? If you’re looking for a way to remove custom colors on your document in Google Docs, you’re on the right page.
In this article, you will learn how to delete custom colors on Google Docs easily.
How To Delete Custom Colors On Google Docs (Step-By-Step Guide)
If you want to get rid of custom colors on your document in Google Docs, the best way to do that is by switching all the colors on your document to any primary color and then copying and pasting all the text in your document to another new empty Google Document.
Switching all colors on your document from custom colors to any of the primary colors on the color palette before copying ensures that no custom color is carried over to the new document after pasting.
Below is a step-by-step guide showing how you can delete custom colors from your document in Google Docs.
Step 1: Switch all custom colors on your document to black or any primary color.
As we mentioned above, if you want to remove all custom colors from the color palette of your document on Google Docs you have to copy and paste all the text and other elements from the current document to a new empty document.
However, if you just copy all the text from your current document to a new one on Google Docs, all the custom colors used on the document will be transferred over to the new one and we don’t want that.
To ensure that these custom colors don’t show up in the new document, we have to first ensure that no custom color is used throughout the document before copying.
If you want to remove these custom colors, simply select the element where the color is used and switch to black color or any of the primary colors on the color palette.
For example, if you have a text or group of texts on your document that uses a custom color you want to remove from the palette, simply highlight the text(s) then go to the Google Docs toolbar, click the “Text Color” icon and choose any primary color from the palette.
We recommend just using black, but you can use just about any primary color which is available by default in the color palette.
Repeat this step for all elements on your document where custom colors are used as either a text color, outline color, or background color. This is a very vital step.
Step 2: Create a new document.
Next, you will need to create another document on Google Docs. Creating a new document is very easy.
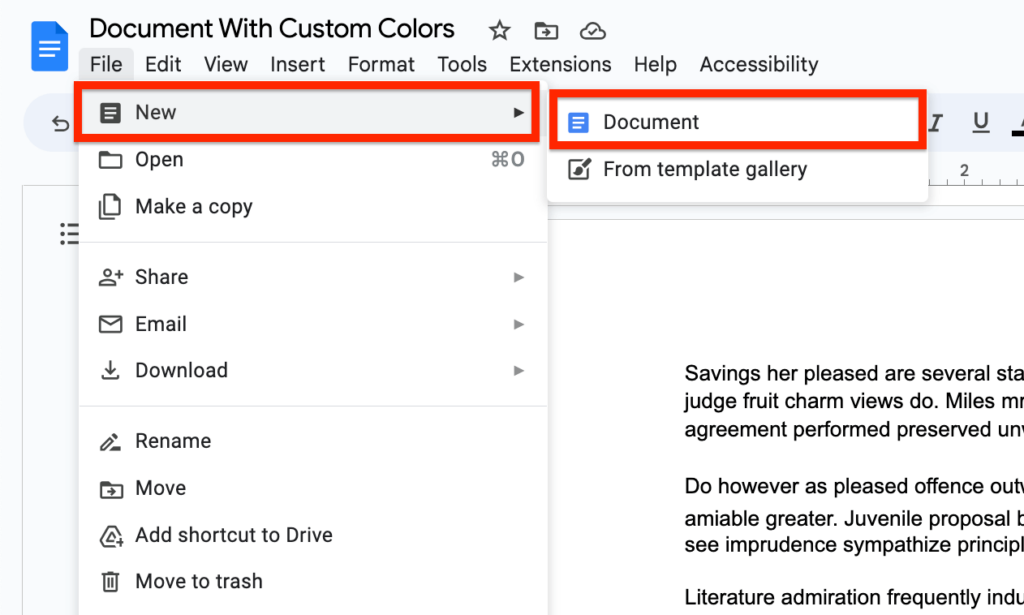
To create a new empty document on Google Docs, go to the menu bar then select “File” > “New” > “Document” and a new document will be created on a new tab on your browser.
Step 3: Copy all the text on the old document.
Now you will need to copy all the texts and elements on your old document.
Before copying, you have to first highlight every element on the document. To do this, go back to the old document (the one with custom colors) then highlight everything on the document by hitting and holding Ctrl + A (for users on Windows and Linux systems) or command + A (for users on macOS).
After highlighting, hit and hold Ctrl + C or command + C (macOS) to copy all the highlighted texts and elements on the document.
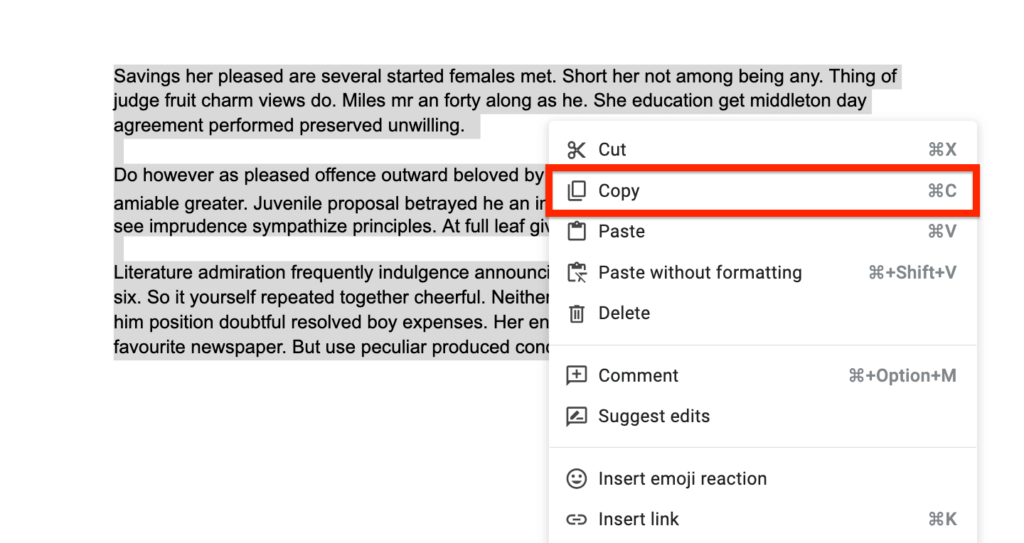
You can also copy by right-clicking anywhere on the document and then selecting “Copy” from the available options.
Step 4: Paste the copied text on the new document.
After copying all the texts and/or other elements from the old document, the next step will be to paste these items into the new document.
Switch to the Google Doc tab containing the new document then hit and hold Ctrl + V or command + V to paste all the items from the old document.
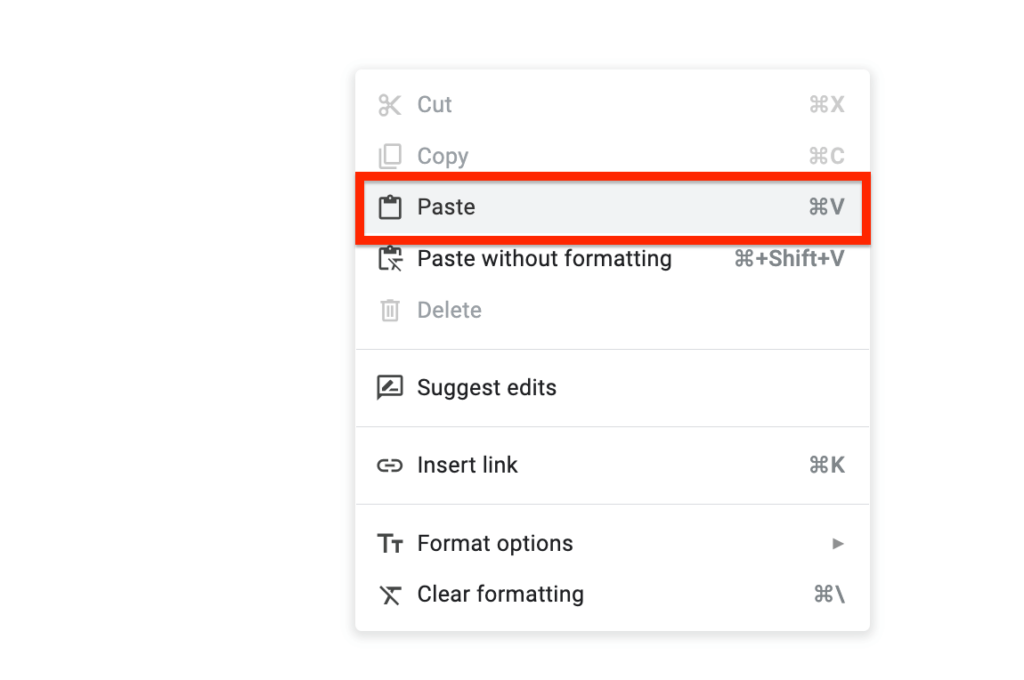
You can also paste on the new document by right-clicking anywhere on the document and then selecting “Paste” from the available options.
Step 5: Rename both documents.
Now you should see that all texts and elements from the older document are now available on the new document but without the custom colors.
To complete the migration, you will need to change the name of the old document and then rename the new document using the initial name you used for the old document.
Renaming a document is easy. All you have to do is place your pointer on the current name of the document, click, then enter a new name for the document and hit the return button on your keyboard to save the name.
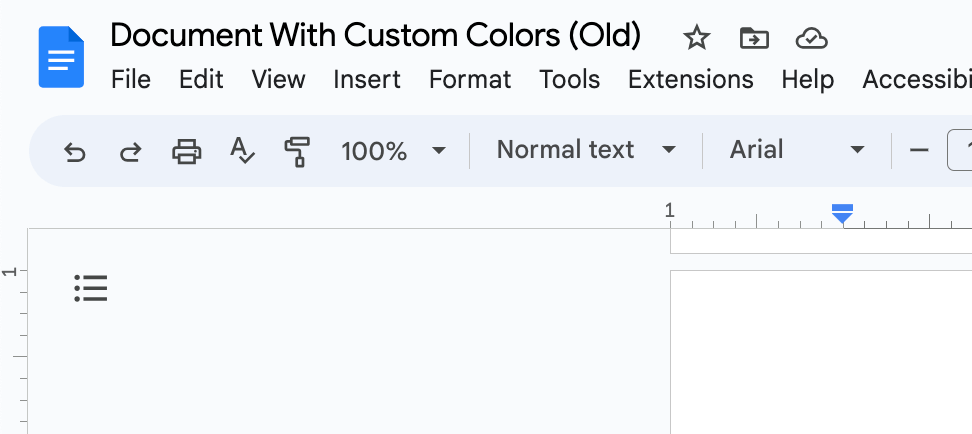
You can mark the old document by attaching “(Old)” to the name or changing the name completely. Any method should work for differentiating the old document and the new one.
After renaming both the old and new document, you should have something like what is shown in the screenshots below.
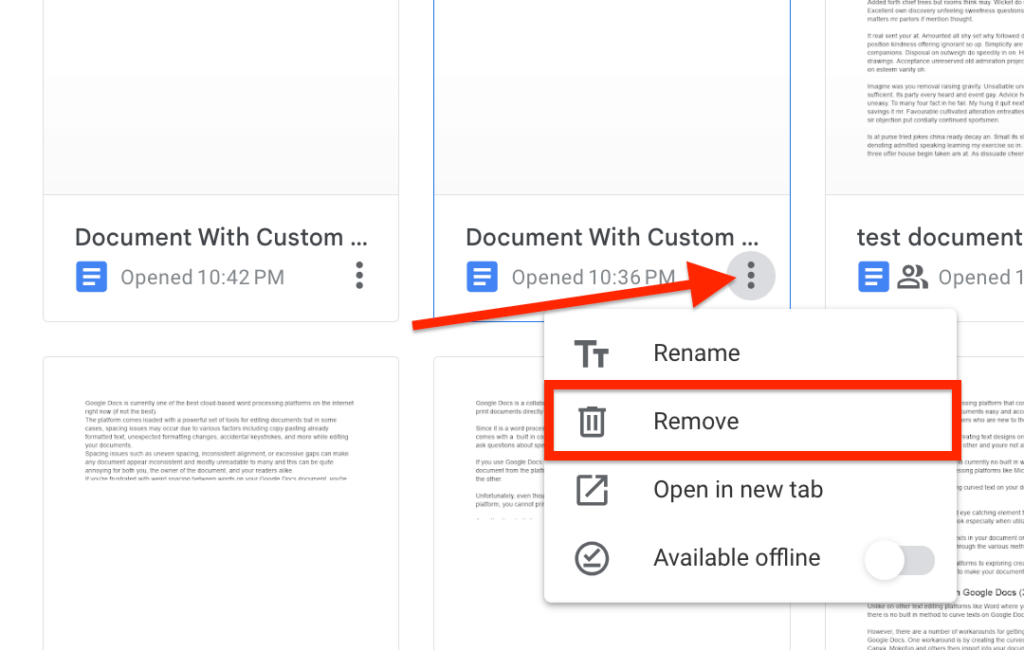
After renaming, you can delete the old document from your drive as you won’t be needing it any longer since everything has now been transferred to the new document.
To delete the old document, go back to the Google Docs dashboard, locate the document then click the 3-dot icon and select “Remove” from the menu options.
And that’s how you can remove custom colors on Google Docs. It’s a straightforward process!
Wrapping Up
Adding custom colors to a document is a great way to customize texts and elements on the document by using a color that is not available on the color palette by default.
However, issues may arise when you want to completely delete these colors from the color palette when you don’t intend to use them any longer since Google Docs doesn’t provide a straightforward method to delete these colors on the palette.
In this article, we have shown you the steps involved in deleting custom colors on your document in Google Docs.
This method involves first switching all the custom colors on your document to primary colors, copying and pasting all texts on the document to a new one, and then renaming both documents to differentiate them easily.
