

Have you ever been working on a document in Google Docs and needed to create a matrix or a set of matrices? If so, you know that it can be a bit of a pain especially if you’re quite new to the platform.
Using the normal method we all know to make matrixes on Google Docs, you must first insert a table, enter the elements in the matrix, and then format the table to look more like a traditional matrix. If you need to make changes to the matrix later, it can be even more frustrating and no one wants that.
But what if there was a way to create a matrix or multiple matrixes in Google Docs that was easy and fast? What if you could create a matrix that was formatted perfectly, without any hassle?
Well, there is! In this article, we are going to show you how to make a matrix on Google Docs using a couple of different but easy-to-follow methods.
So, whether you’re a beginner or an experienced user, read on to learn how to create a matrix in Google Docs the easy way.
How To Make A Matrix In Google Docs (3 Working Methods)
Suppose you’re currently using Google Docs to edit your maths assignment or type an exam paper (for teachers). In that case, you will notice that there is no built-in matrix feature on the platform and this can be quite frustrating especially if you need to input a whole bunch of matrixes into your documents.
Thankfully, like with other issues you might face on Google Docs, there are a couple of methods/workarounds you can use to get matrices on your documents in Google Docs.
These methods include using the Google Docs equations tool, utilizing an external Google Docs addon, and using tables to create matrices on your document.
Below, we discuss each method in detail and explore the use cases for each method.
1) Using the Google Docs equations tool.
The first workaround for making matrices in Google Docs is by using the Google Docs equations tool. This works flawlessly for creating matrices on the document processing platform with the only limitation being that you can only create matrices with 2 columns and an unlimited number of rows.
Here is how to make a matrix on Google Docs using the Equations tool.
Step 1: Open up the Google Docs equations tool.
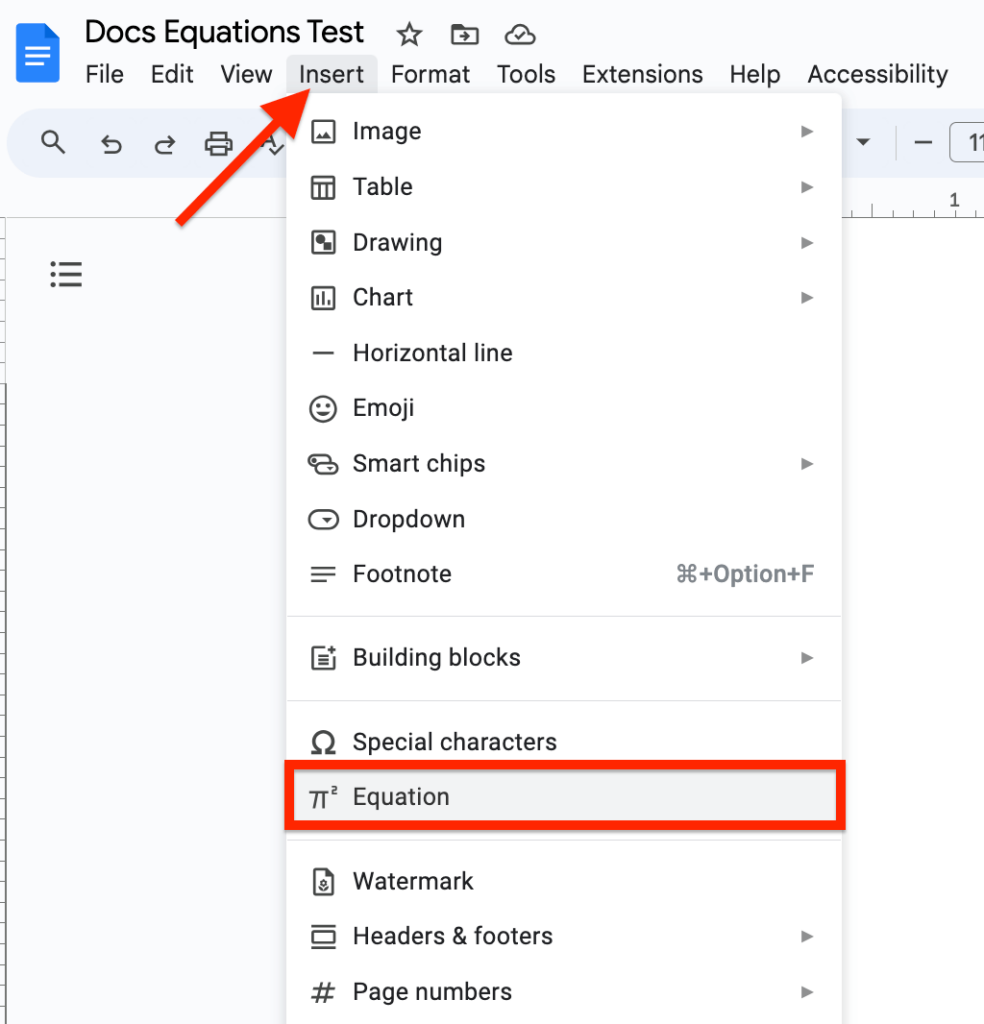
First, you will need to open up the equations tool on the Google Docs window. To do this, simply go to the menu bar (on the Google Docs window) click “Insert” and then select “Equation” from the menu items.
Now, you should see that an equations field has been inserted into the section where your text cursor last was before selecting the “Equation” option in the above step.
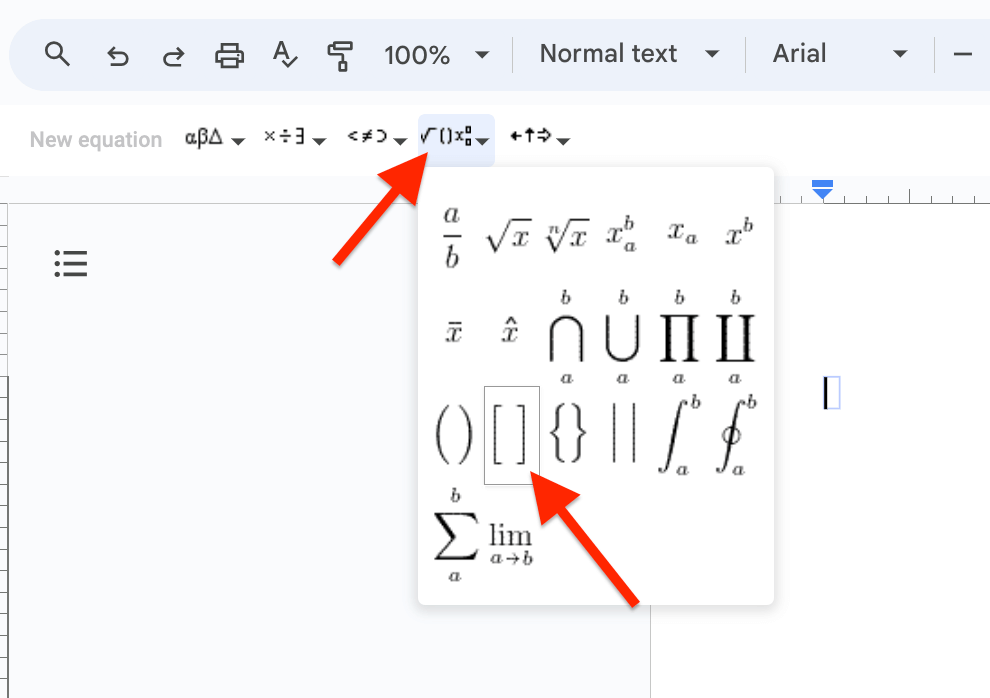
Look just beneath the Google Docs toolbar and you should see a couple of equation formatting options. Click on the fourth “Math operations” option and select Square brackets in the fourth row on the drop-down menu.
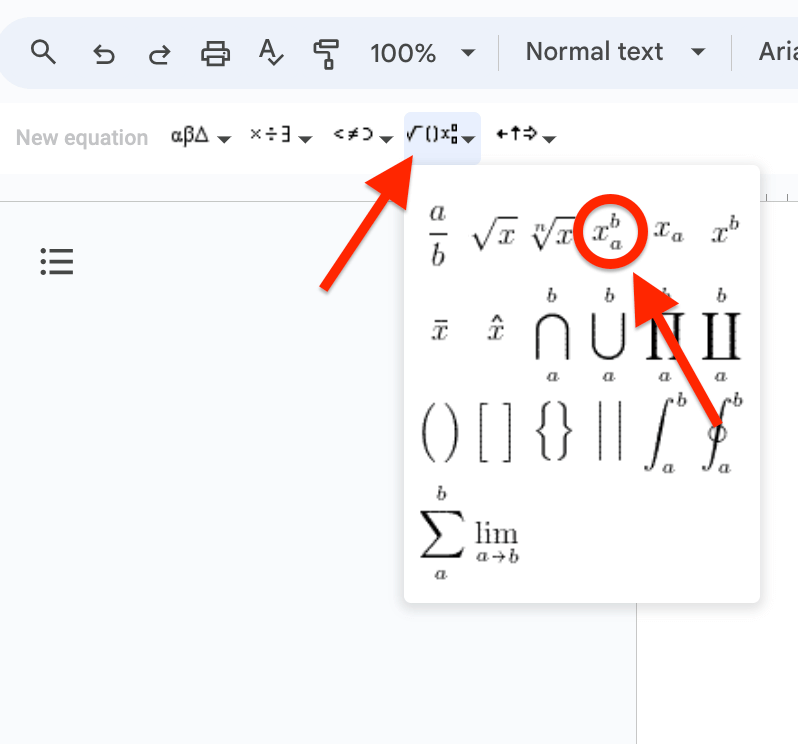
Step 3: Select the “xba” option from the Math operations options.
Next back to the equations options menu then select the “xba” from the available options under the “Maths operations” menu (4th option on the equations menu).
Step 4: Enter the numbers in the first column of the matrix.
Next, you will need to enter all the numbers needed in the first column of the matrix you want to create.
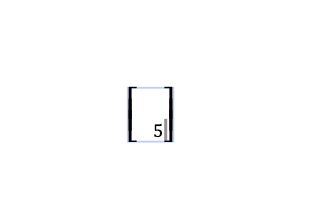
To do this, hit the right arrow key on your keyboard (while your text cursor is still in the bracket) then type in the number which will be in the bottom row as shown in the screenshot below.
After typing in the number in the bottom row of the first column, hit the right arrow key on your keyboard again then type in the number/figure which will be in the top row then hit the right arrow key again to exit the superscript.

Step 5: Hit Space and repeat steps 3 & 4.
Next, hit the space/spacebar key on your keyboard and repeat the instructions in steps 3 and 4 outlined above to add a second column to your matrix.
You can do this for as many columns as you want to add to your matrix on Google Docs.
Step 6: Add a space to the end of the last row in your matrix.
When you’re done with adding all the columns and rows you will need for your matrix, add a space to the end of the last equation (or column).
You can do this by moving the text cursor to the end of the equation/column using the right arrow key on your keyboard and then hitting the space button on your keyboard.
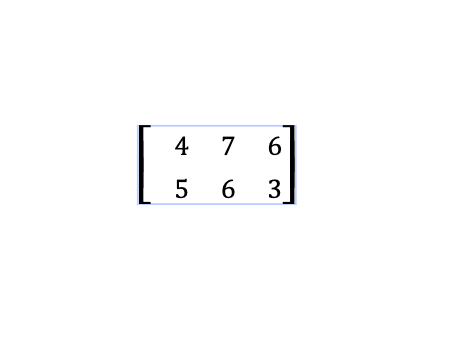
After adding a space to the end of the last row (technically, an equation) you should have something like what we have below.
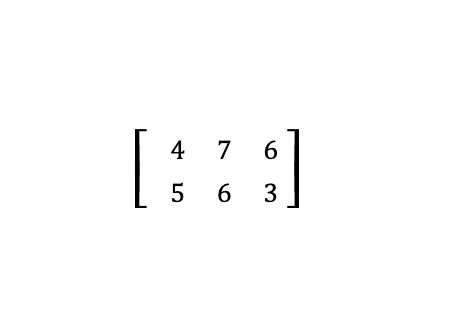
And that’s how you can make a matrix on Google Docs by using equations.
2) Using a Google Docs Addon.
Add-ons are like browser extensions – they are essentially used to add features that are not natively available on web-based platforms/tools like Google Docs and other apps in the Google Workspace lineup.
On Google Docs, there are add-ons to fill in for missing features on the platform, and one add-on that works well for creating various types of math equations efficiently is the “Hypatia Create” Google Docs add-on.
Here is how to make matrixes on Google Docs using the Hypatia Create add-on.
Step 1: Install the add-on in Google Docs.
The first step in this method is to install the free add-on in Google Docs.
To install this add-on, go to the Google Docs menu bar then select “Extensions” > “Add-ons” > “Get add-ons“.
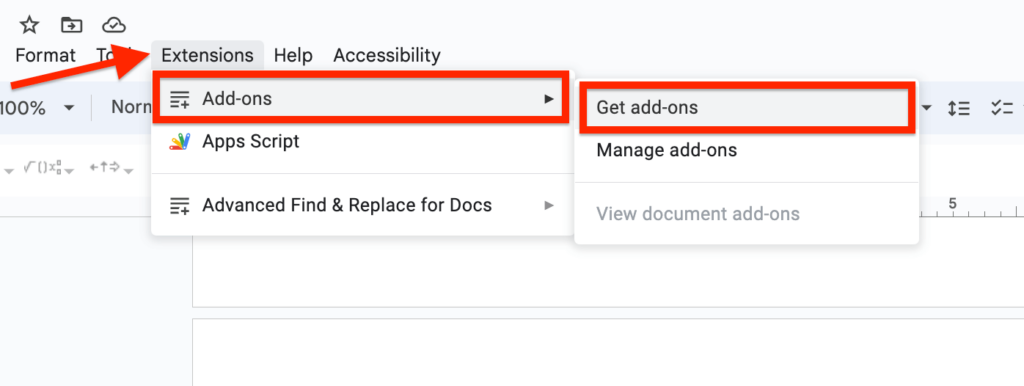
Now, you should see a dialog showing a list of featured add-ons in the Google Workspace Marketplace.
Look for the search bar then type in “Hypatia Create” and hit Enter/return on your keyboard then select the correct option from the search results.
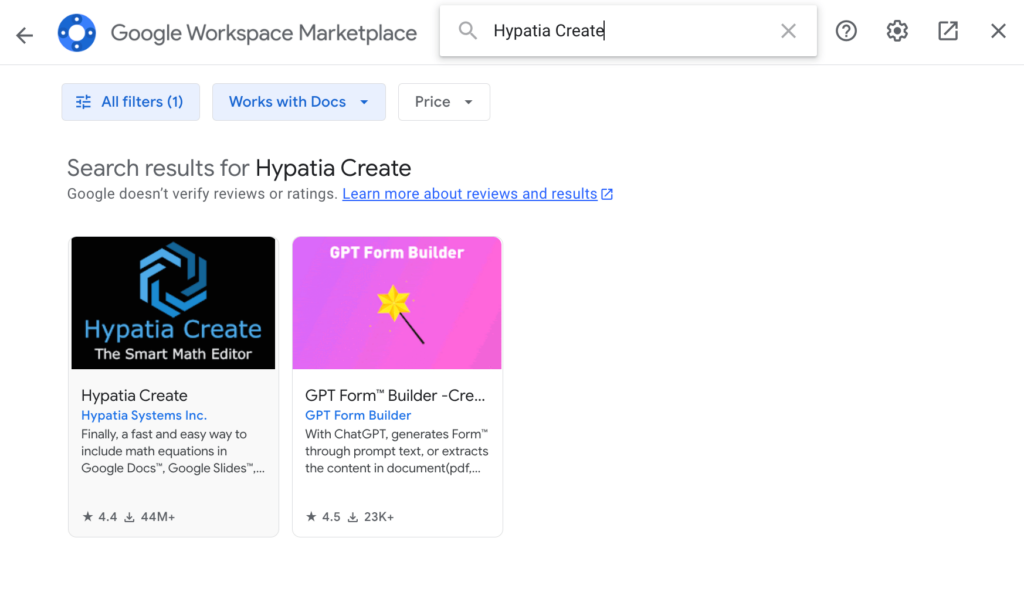
After selecting the correct option from the search results, you should be redirected to the add-on page on the dialog. Click “Install” and select “CONTINUE” on the installation confirmation dialog.

In some cases, you may need to give the add-on access to your Google account before proceeding with the installation.
If that is the case, select the Google account you use for Google Docs in the popup window and click “Allow” on the next page to grant the required access.
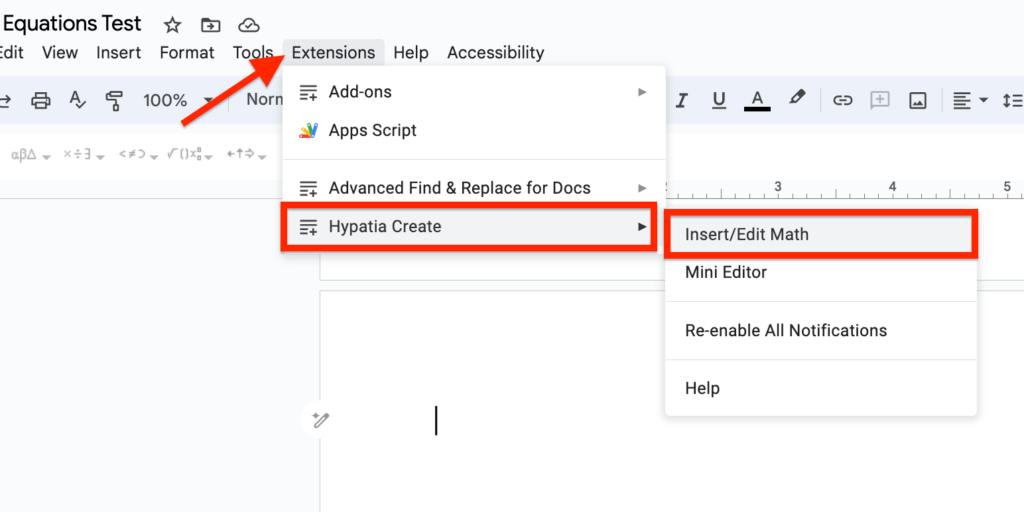
Step 2: Launch the add-on.
When the add-on installation is complete, go to the Google Docs menu bar then select “Extensions” > “Hypatia Create” > “Insert/Edit Math“.
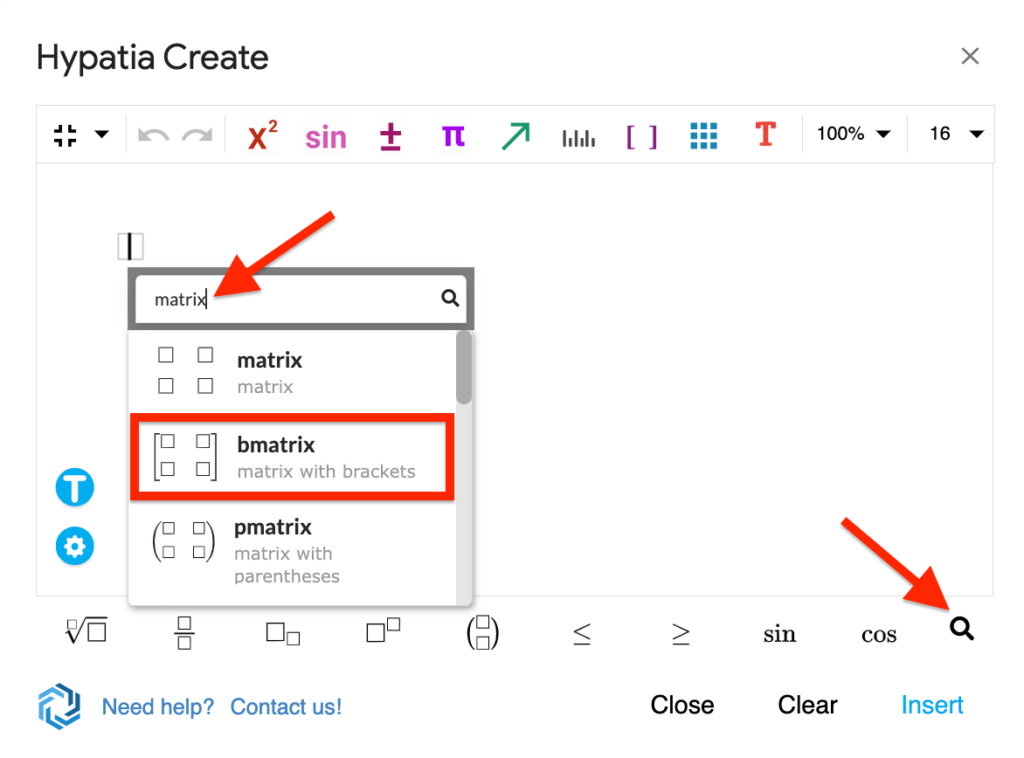
Step 3: Search for “matrix” and select the correct matrix type.
Next, click on the search button on the bottom right corner of the Hypatia Create add-on dialog, type in “matrix” in the search bar, and select the type of matrix you want to insert.
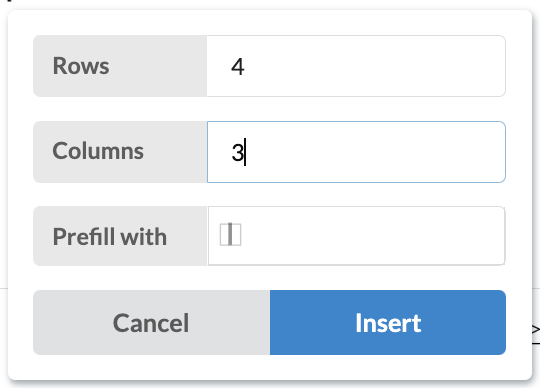
Step 4: Enter the number of rows and columns to be used.
The next step after selecting the matrix type will be to enter or specify the number of rows and columns you want to add to your matrix.
For this example, we will be creating a 4 by 3 (4×3) matrix using this add-on so we will be using 4 rows and 3 columns by entering “4” in the “Rows” field and “3” in the “Columns” field.
After that, click “Insert“.
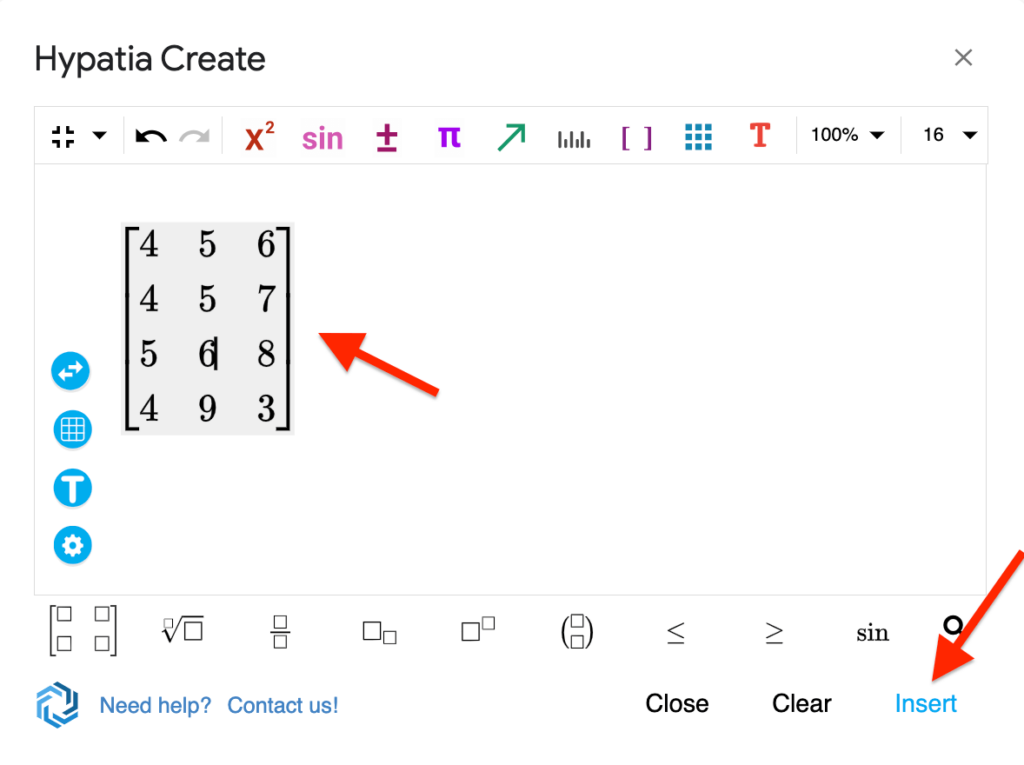
Step 5: Input the numbers to be used on the matrix.
Next, fill in the numbers to be used for the matrix by clicking on each box in the matrix and entering a number.
After inputting a number in each box on your matrix, click “Insert” at the bottom right corner of the dialog to insert the matrix into your document.
When the matrix is inserted, click “Close” to close the Hypatia Create add-on dialog.
Step 6: Adjust text wrapping and resize the matrix (optional).
Now, you should see that the matrix you created has now been inserted into your document at the last location where the text cursor was.
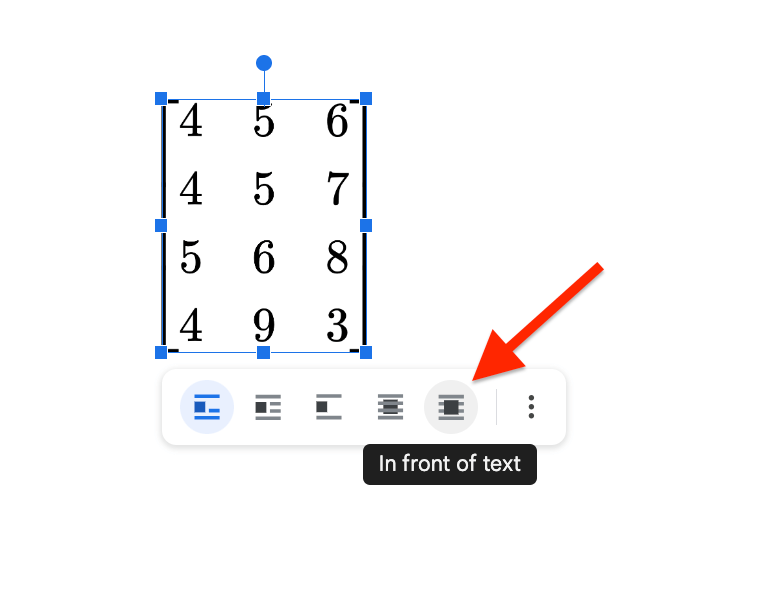
After the matrix is inserted into your document, you can adjust the size of the matrix like other elements on Google Docs, change the text wrapping option for the matrix, and resize the matrix.
To change the default text wrapping option, click on the matrix where it was inserted on your document then select “In front of text” from the available text wrapping options.
To adjust the size of the matrix, click on the matrix then click and hold any of the 8 small squares then drag until you get to your desired size.
And that’s how you can easily make a matrix on Google Docs using the Hypatia Create Google Docs add-on.
3) Using Tables.
Here is how to create a matrix in Google Docs using tables.
Step 1: Insert a table with the required size into your document.
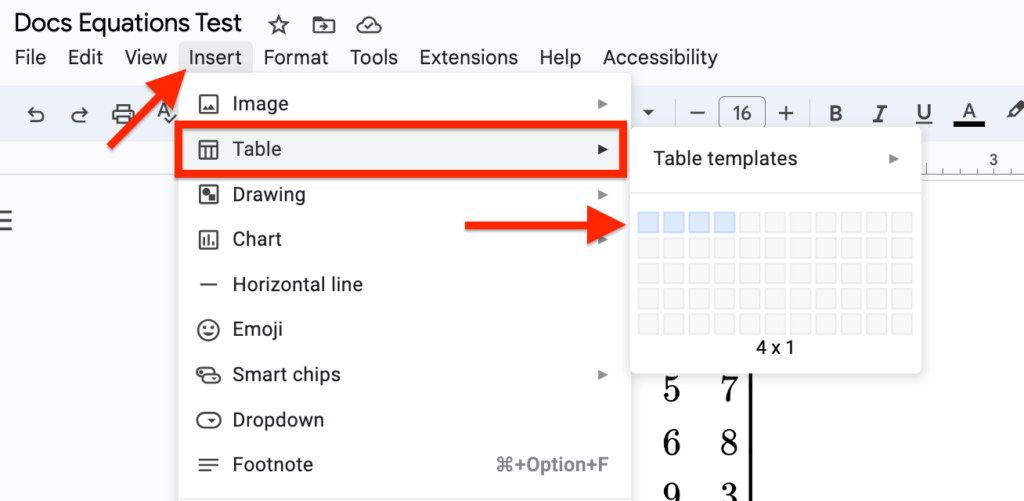
First, go to the Google Docs menu bar then click “Insert” > “Table” and select the table size required for the matrix you want to create.
Typically, you would want to select the number of columns in your matrix + 2 as the table size for your table.
For example, if you want to create a 2×2 matrix, you will create a 4×1 table (2+2). if you want to create a 3×3 matrix, create a 5×1 table (3+2) in Google Docs. You get the idea.
We’re doing this because we will be turning the first and last columns in the table into brackets to form a proper matrix.
For this tutorial, we will be creating a 3×2 matrix so will be selecting the 4×1 table size as you can see in the screenshot below.
Step 2: Input the numbers for the matrix in the table.
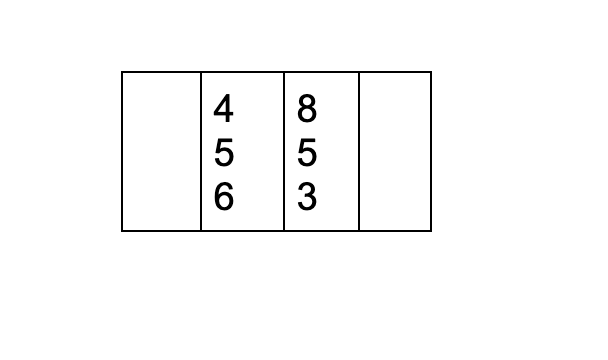
Next, enter the numbers to be used for the matrix in the table but leave the first and last columns empty as you can see in the screenshot below. You can use the Enter/return key on your keyboard to move to the next line on a column.

Step 3: Reduce the size of each column.
Reduce the width of each column on the table by clicking and dragging the line that separates each column to the right.
Do this for all columns on the table (matrix) until you have something like this:
Step 4: Remove all inner borders.
Finally, you will have to remove all the inner borders of the table to form a matrix.
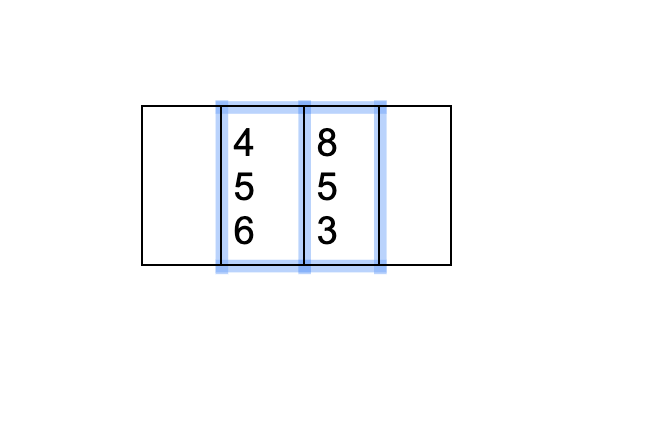
To do this, hold the Shift key on your keyboard then use your your mouse cursor to select all the inner borders of the table as shown in the below screenshot.
After selecting all the inner borders, go to the toolbar and click on the “Border width” icon then select “0pt” from the options in the dropdown.
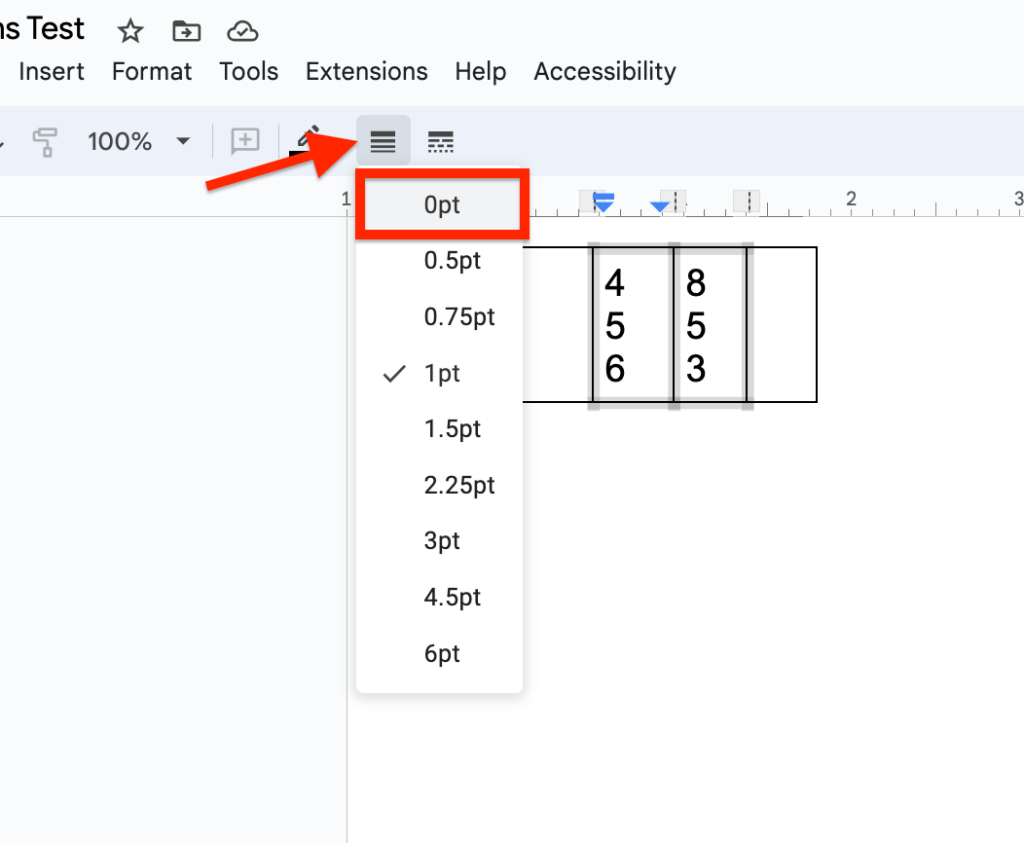
Now, you should something like this.
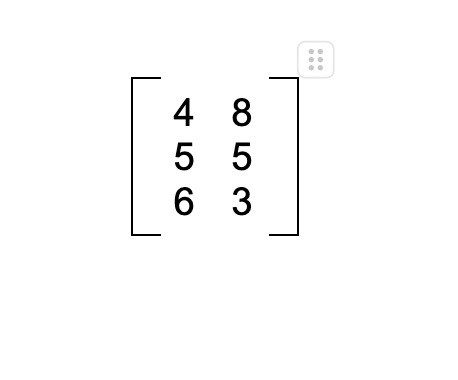
And that’s how you can create a matrix or multiple matrixes on Google Docs using tables.
Wrapping Up
In conclusion, three methods can be used to make a matrix in Google Docs: using equations, using the Hypatia Create Google Docs add-on, and using tables. Each method has its advantages and disadvantages, so the best method for you will depend on your specific needs.
If you need to create a simple matrix, using equations is probably the easiest method. However, if you need to create a more complex matrix, or if you want to be able to edit the matrix easily, using the Hypatia Create Google Docs add-on or tables are better options to consider.
Ultimately, the best way to create a matrix in Google Docs is to experiment with the different methods and see which one works best for you.
